Photo by Domenico Loia on Unsplash
Transition Animations in SwiftUI
Learn to apply easy-to-use and beautiful animations in SwiftUI
Table of contents
Intro
SwiftUI is a great tool to enable development of UI for small-to-medium size iOS applications. Today I want to show how easy it is to create transition animations in SwiftUI which definitely improves the way users perceive an app.
Core Material
Imagine we are developing an app that operates with cards and we want to implement a feature of adding a new card to an existing deck.
Note: An app that operates with cards is an abstraction and could be any app with cards i.e. a flashcard learning app, a card game app or even a Tinder-like dating app 😈
Let's start with basic components.
Card
First, we need to create a model which will represent a card. Let's have emojis on the cards for fun.
let emojis = ["😅", "😈", "👻", "🎊", "🤡"]

struct Card: Identifiable {
    let id = UUID()
    let emoji = emojis.randomElement()!
}
We add conformace to Identifiable so SwiftUI could distinguish instances of CardView which we cover in a second.
CardView
Now let's implement the view that will represent a card.
struct CardView: View {
    let card: Card
    var body: some View {
        ZStack {
            RoundedRectangle(cornerRadius: 20)
                .foregroundColor(.white)
                .shadow(color: .black.opacity(0.25), radius: 5, x: 4, y: 4)
            Text(card.emoji)
                .font(.system(size: 70))
        }
        .frame(width: 200, height: 320)
    }
}
Content View
The next step is to implement a view that will demonstrate cards, let's call it ContentView.
struct ContentView: View {
    @State var cards: [Card]
    var body: some View {
        ZStack {
            Color.purple
            VStack(spacing: 20) {
                Button {
                    cards.append(Card())
                } label: {
                    Text("Add new card")
                        .bold()
                        .frame(width: 180, height: 60)
                        .foregroundColor(.purple)
                        .background(.white)
                        .cornerRadius(10)
                        .shadow(color: .black.opacity(0.25), radius: 5, x: 4, y: 4)
                }
                ZStack {
                    ForEach(cards) { card in
                        CardView(card: card)
                    }
                }
                Text("Card count: \(cards.count)")
                    .foregroundColor(.white)
            }
        }
        .frame(width: 300, height: 600)
    }
}
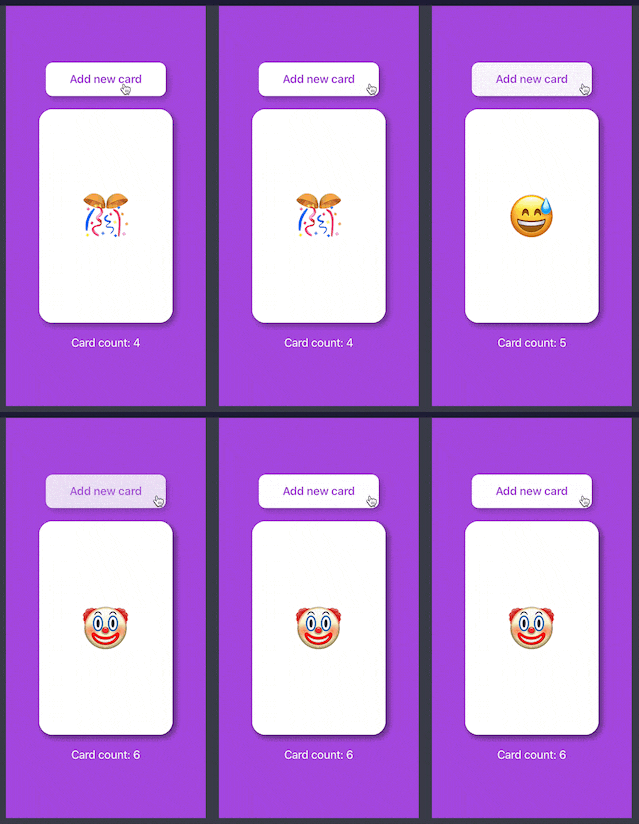
Whenever the button is pressed a new card is added to the deck. As you may see below, the action of adding a new card is not animated. Here's what we've got:

Note: You may need to update the page to see it in action.
Animation
Now with just two lines of code we add the transition animation.
1. We need to add the line to ZStack so that animation is triggered when cards changes:
  var body: some View {
        ZStack {
            ...
        }
        .frame(width: 300, height: 600)
        .animation(.default, value: cards.indices) // Added line
    }
2. We need to enable transition for CardView by specifying the direction from which the card will appear:
ForEach(cards) { card in
    CardView(card: card)
        .transition(.move(edge: .bottom)) // Added line
}
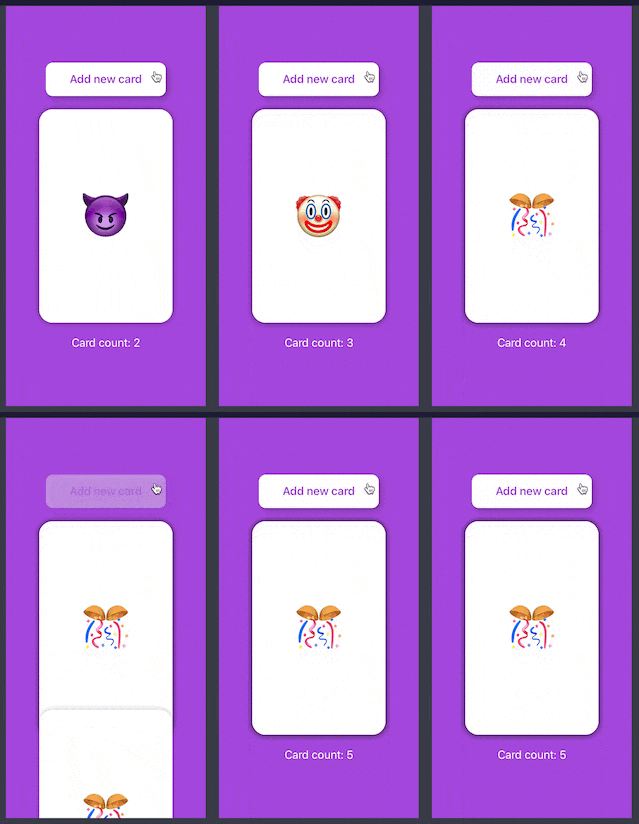
Here's what we've got:

Note: You may need to update the page to see the animation.
Conclusion
We refreshed our SwiftUI skills to represent a nice card and learned how to add transition animations. Now you know how to make user interface of your app to look nicer.
